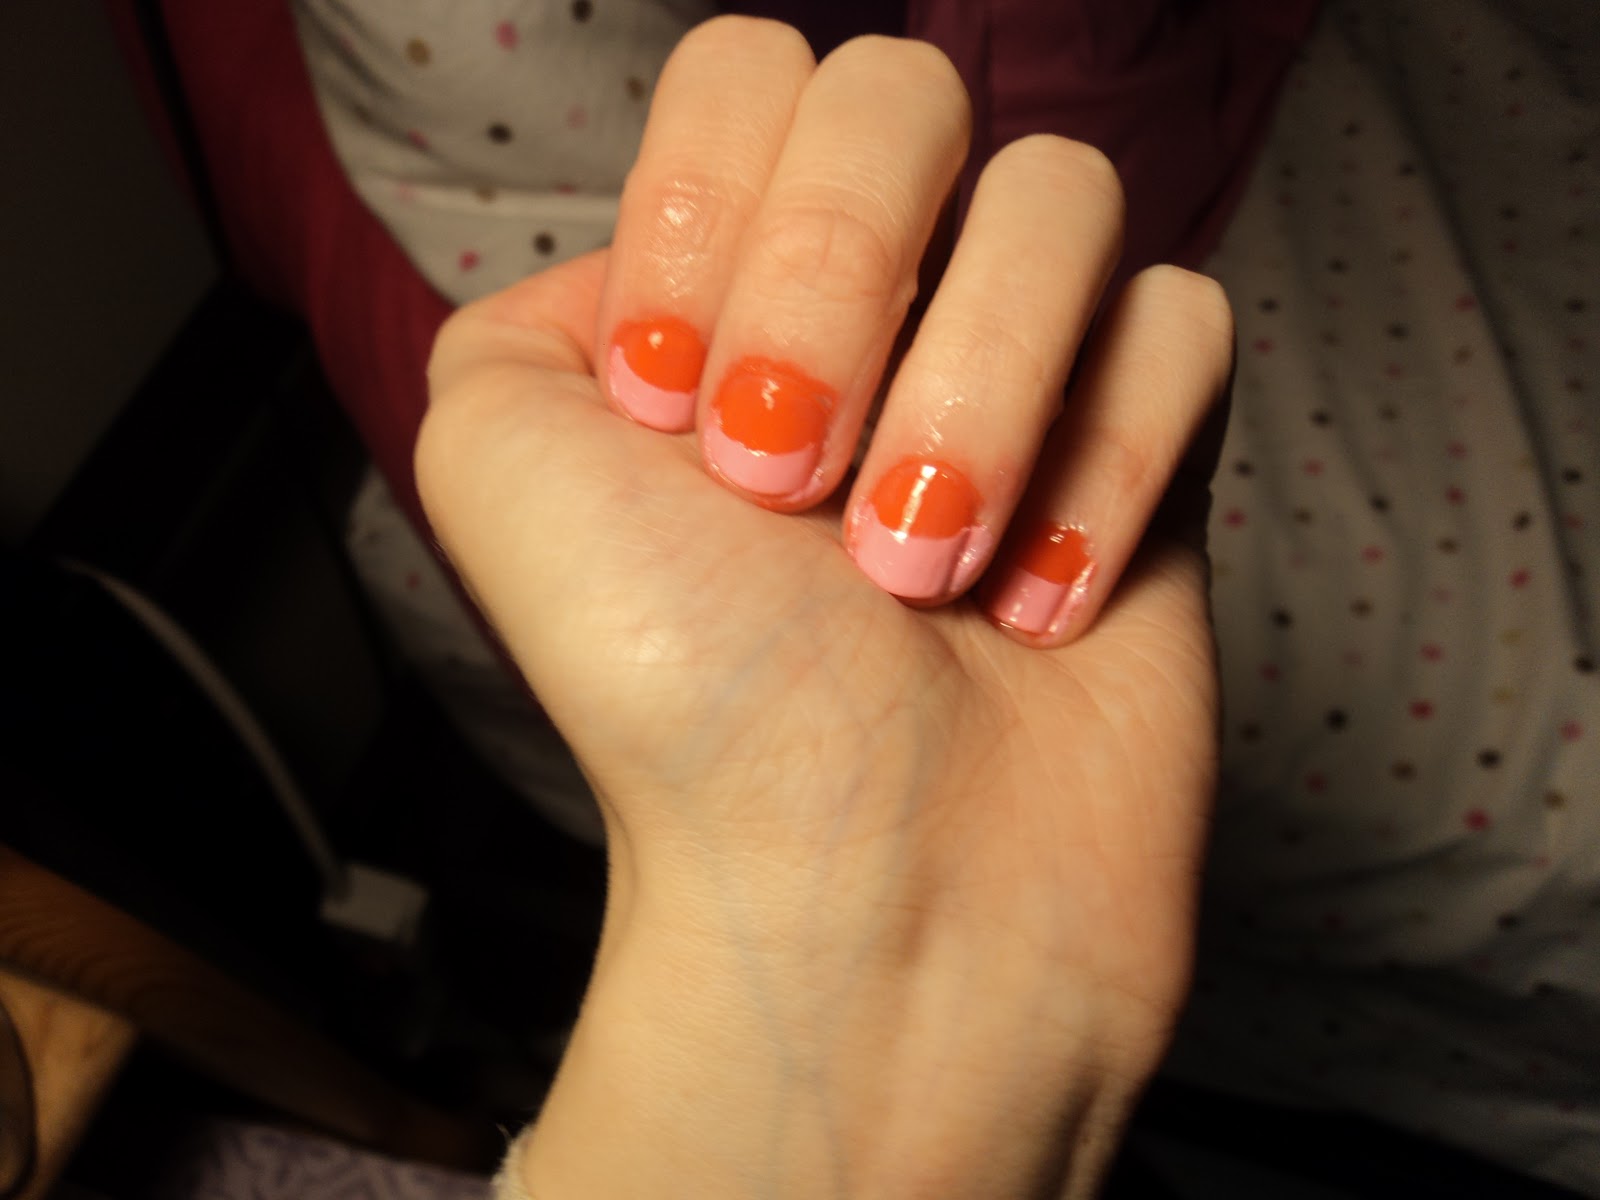
I am not particularly good at painting my nails (I have really unsteady hands), but I wanted to share some cute designs I do on occasion, anyway. Painting my nails is a tough decision for me because I like to keep them painted 1. because they look pretty and 2. because it stops me from biting my nails. The major con about painting my nails is the environmental cost. Sure it is not huge, but nail polish contains many toxins and is essentially plastic. In the end, I almost always have my nails painted because I am still in the process of trying to beat my habit of biting/picking at my nails.
These nails started out when I decided to paint my nails orange on Wednesday. Horrified that is was Halloween (I really am not into being 'festive' in my attire, and I had already celebrated the holiday over the weekend), I figured that I would play around with my nails a bit, and that is where the orange sherbert idea came in.
I apologize again that these photos are not that great. When I try to paint my nails, I tend to paint my whole hand.
Step 1: Gather your supplies.
What you will need:
- base/coat top coat polish (not shown)
- nail color #1 (I used Times Square Tangerine Creme by NYC)
- nails color #2 (I used Rose Creme by Wet N Wild)
- reinforcement labels (cut in half)
Step 2: Paint your base coat followed by color #1 and let dry.
Step 3: After your nails have fully dried, apply the half circle reinforcement labels to your nails. I placed mine about halfway down the nail.
Step 4: Apply color #2 and let dry fully.
Step 5: Gently peel off the reinforcement labels. Apply top coat.
Step 6: Let the topcoat dry and ta-da! your nails are complete!
What did you think of this post? Should I do more nail ideas?